I’ll admit it: sashiko purses always intimidated me. Not the stitching part — I’ve been hand-sewing for years — but the hardware. Slide clasps, plastic forms, waxed cord… every time I looked into building one from scratch, I ended up with five browser tabs open and zero clarity on what I actually needed. That’s how I landed on Linda’s Electric half kit, and honestly, it solved a problem I didn’t realize was this simple to fix.
What’s Actually in the Box
The half kit keeps things lean, which I appreciated. No fluff, no extras you’ll never use. Here’s what came with mine:
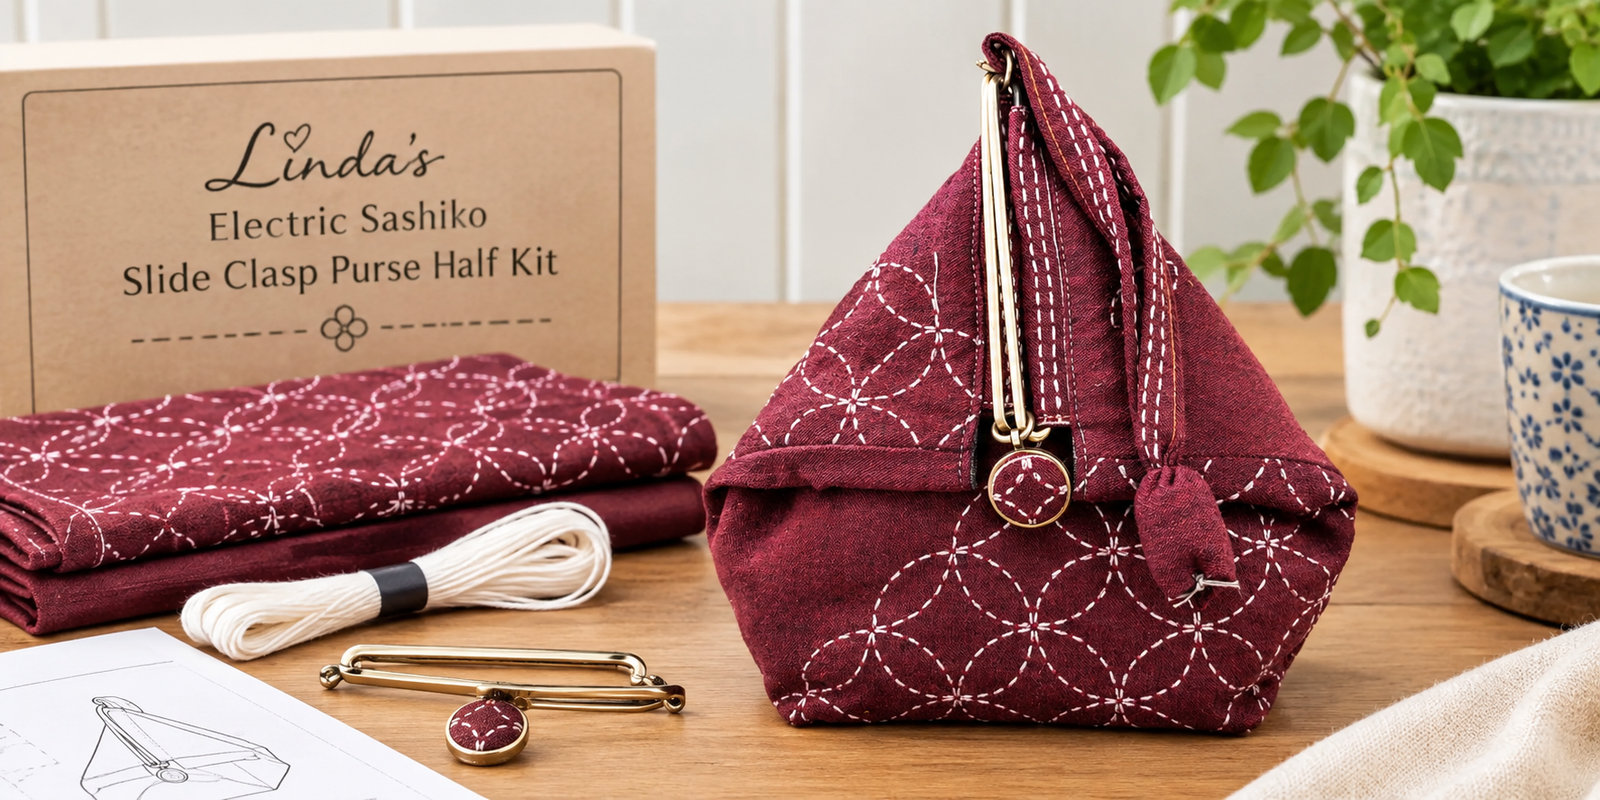
- Slide clasp (x1) — the metal hardware that gives the purse its structure and closure
- Pra form (x1) — a plastic base insert that holds the purse’s shape so it doesn’t collapse once it’s stitched
- Waxed cord (x1) — used to attach the clasp and finish the edges cleanly
- Step-by-step instructions — genuinely easy to follow, even if you’ve never worked with a slide clasp before
- Pre-cut yarn-dyed fabric, 100% cotton with that slightly nubby “nep” texture, available in a couple of colorways (I went with the deep burgundy)
Notice what’s not included — sashiko needle and thread. That’s the difference between the half kit and the full kit, and it’s worth knowing before you order if you don’t already have those on hand.
Why the Half Kit Made Sense for Me
I already had a stash of sashiko thread and needles from previous projects, so paying extra for a full kit felt unnecessary. If you’re just getting started and own none of the sashiko basics yet, the full kit is probably the smarter buy since it adds a sashiko needle and thread on top of everything in the half kit. But if your sewing box already has needles and thread rattling around in it, the half kit is the more economical choice — you’re really just paying for the hardware, the form, and the fabric.
Putting It Together
The pra form is the part that surprised me most. I’d seen the term before and assumed it was some kind of interfacing, but it’s actually a rigid plastic insert that slots inside the purse to keep the base and sides from sagging. Once I understood that, the whole construction process clicked — stitch the fabric panel, work the sashiko pattern by hand, then assemble around the form before attaching the slide clasp with the waxed cord.
A few things I’d tell a first-timer:
- Do your sashiko stitching before assembly. It’s much easier to keep even, straight rows while the fabric is still flat.
- Test-fit the pra form before you commit to final stitches. It should sit snugly but not strain the seams.
- Wax cord frays less than regular thread, so don’t be afraid to pull it taut when securing the clasp — it holds up well.
Was It Worth It?
For anyone who already has sashiko basics on hand and just wants the hardware and fabric sorted out in one order, yes — this is a straightforward, no-hassle way to get a purse project moving without hunting down a slide clasp and a pra form separately. The instructions are clear enough for a confident beginner, and the fabric quality felt worth the price. If you’re brand new to sashiko entirely, I’d size up to the full kit so you’re not caught short on thread and needles mid-project.
This post reflects my own experience with the product; results and included items may vary by seller and colorway.